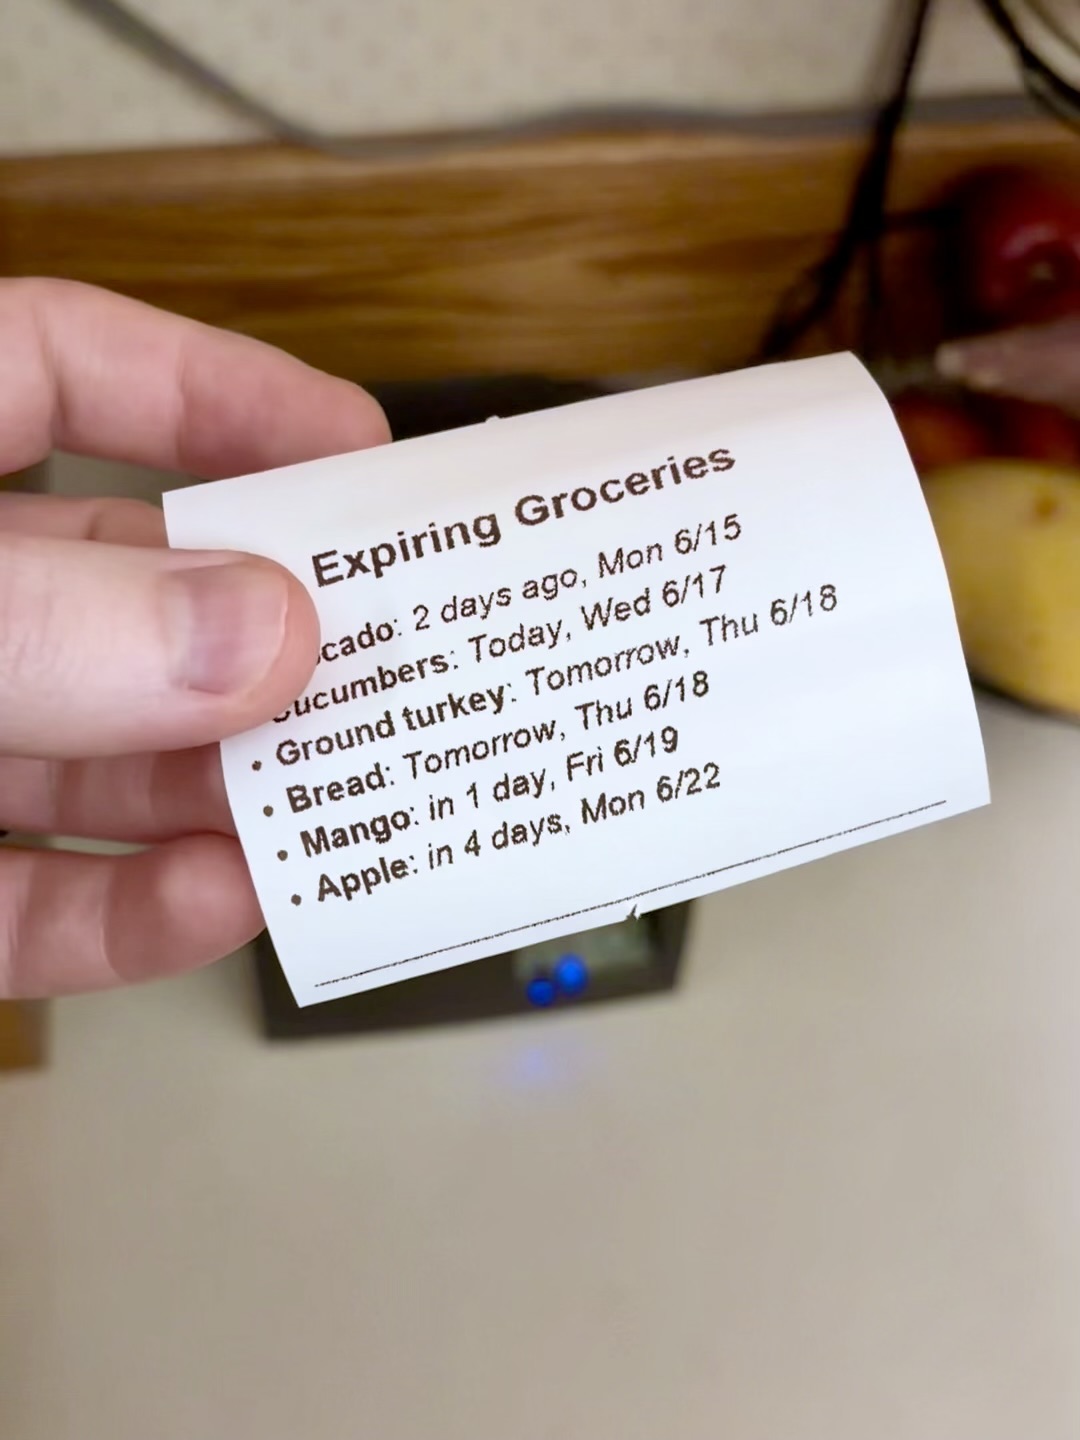
Kitchen automation project
Tap your phone on your fridge, get a receipt of groceries you should use up
The KitchenKit app is built around a simple goal: make grocery tracking easy enough that you actually use it, so less food and money end up in the trash.
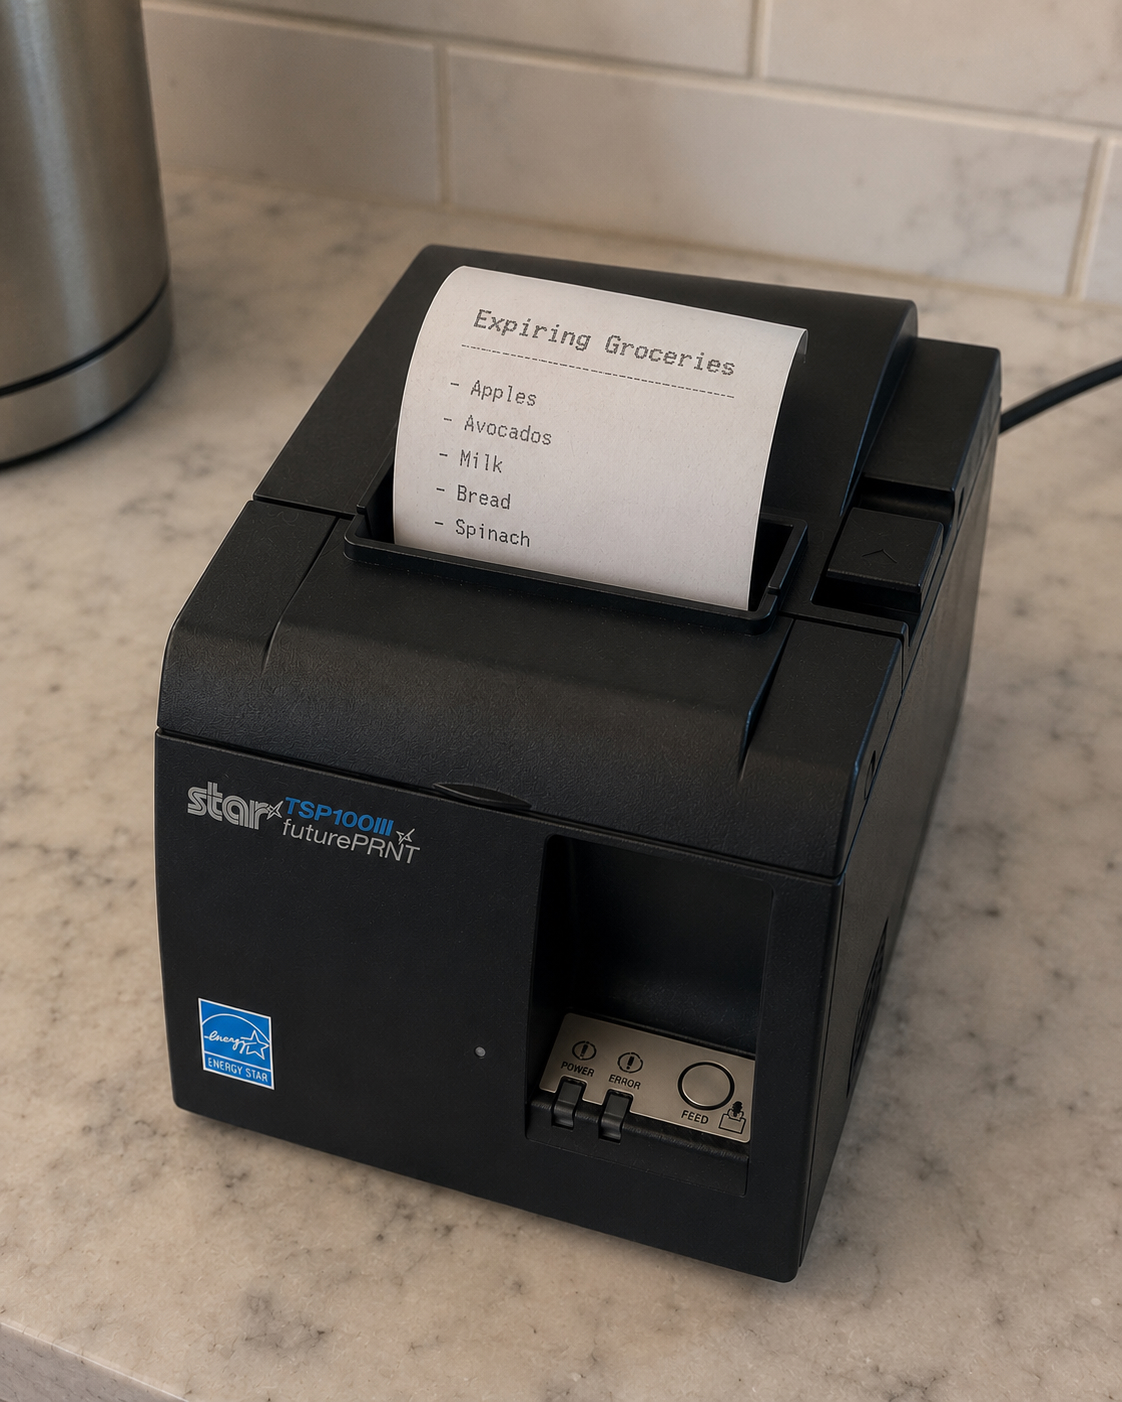
An extra fun, extra tactile use of this data is to get a printed receipt, on demand, of your groceries that are about to expire. A physical reminder you can put somewhere in your kitchen makes it that much harder to forget what you have.
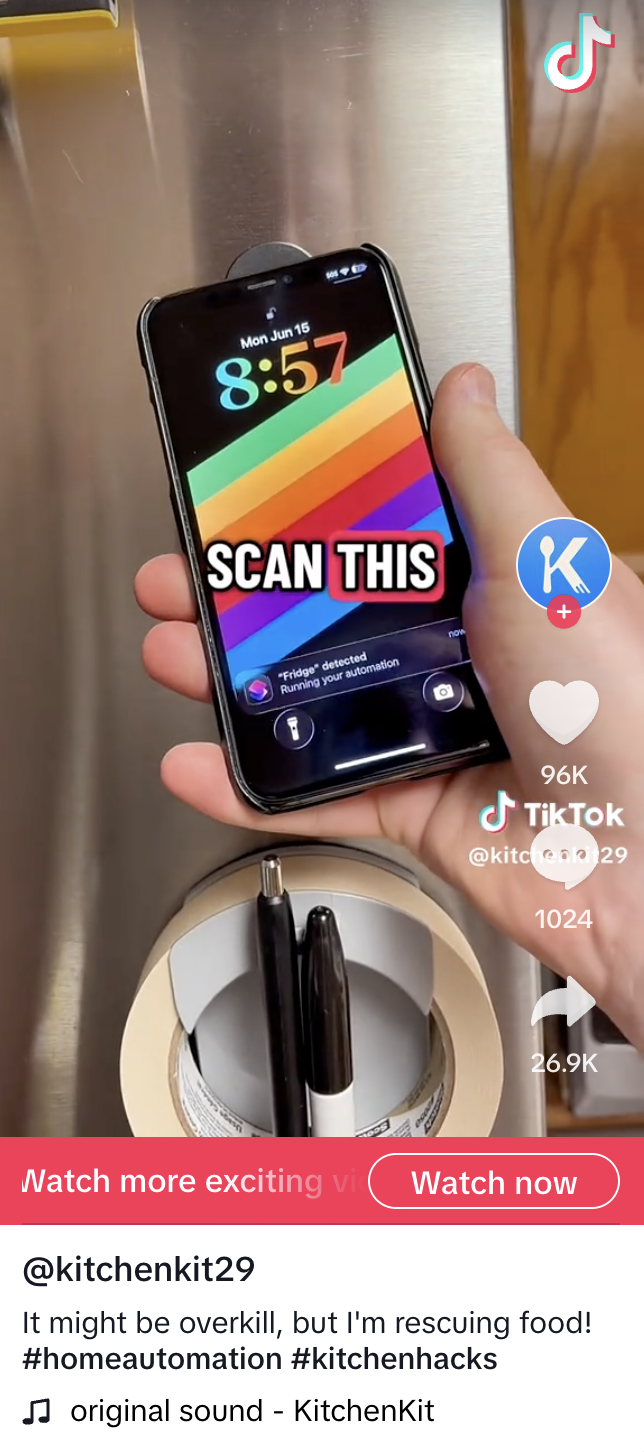
Even without the app, you can apply this project to other data on your phone: recipes, articles, reminders, todos, emails. No hard feelings if you're happy putting your grocery list in a notes app!
I posted a quick video demo, and it really resonated on TikTok. The two most common reactions were: how do you set this up? And where does the grocery data come from?
The rest of this post describes the receipt printer setup. The data question is why I made KitchenKit. It's meant to be the simplest way to capture grocery inventory and show it where you won't forget, whether that's on your phone or a printout.
Start with the grocery data
What's useful to everyone is having a current list of food that needs attention. KitchenKit turns your grocery inventory into push notifications and Home Screen widgets, so you can have a digital receipt without buying any hardware.
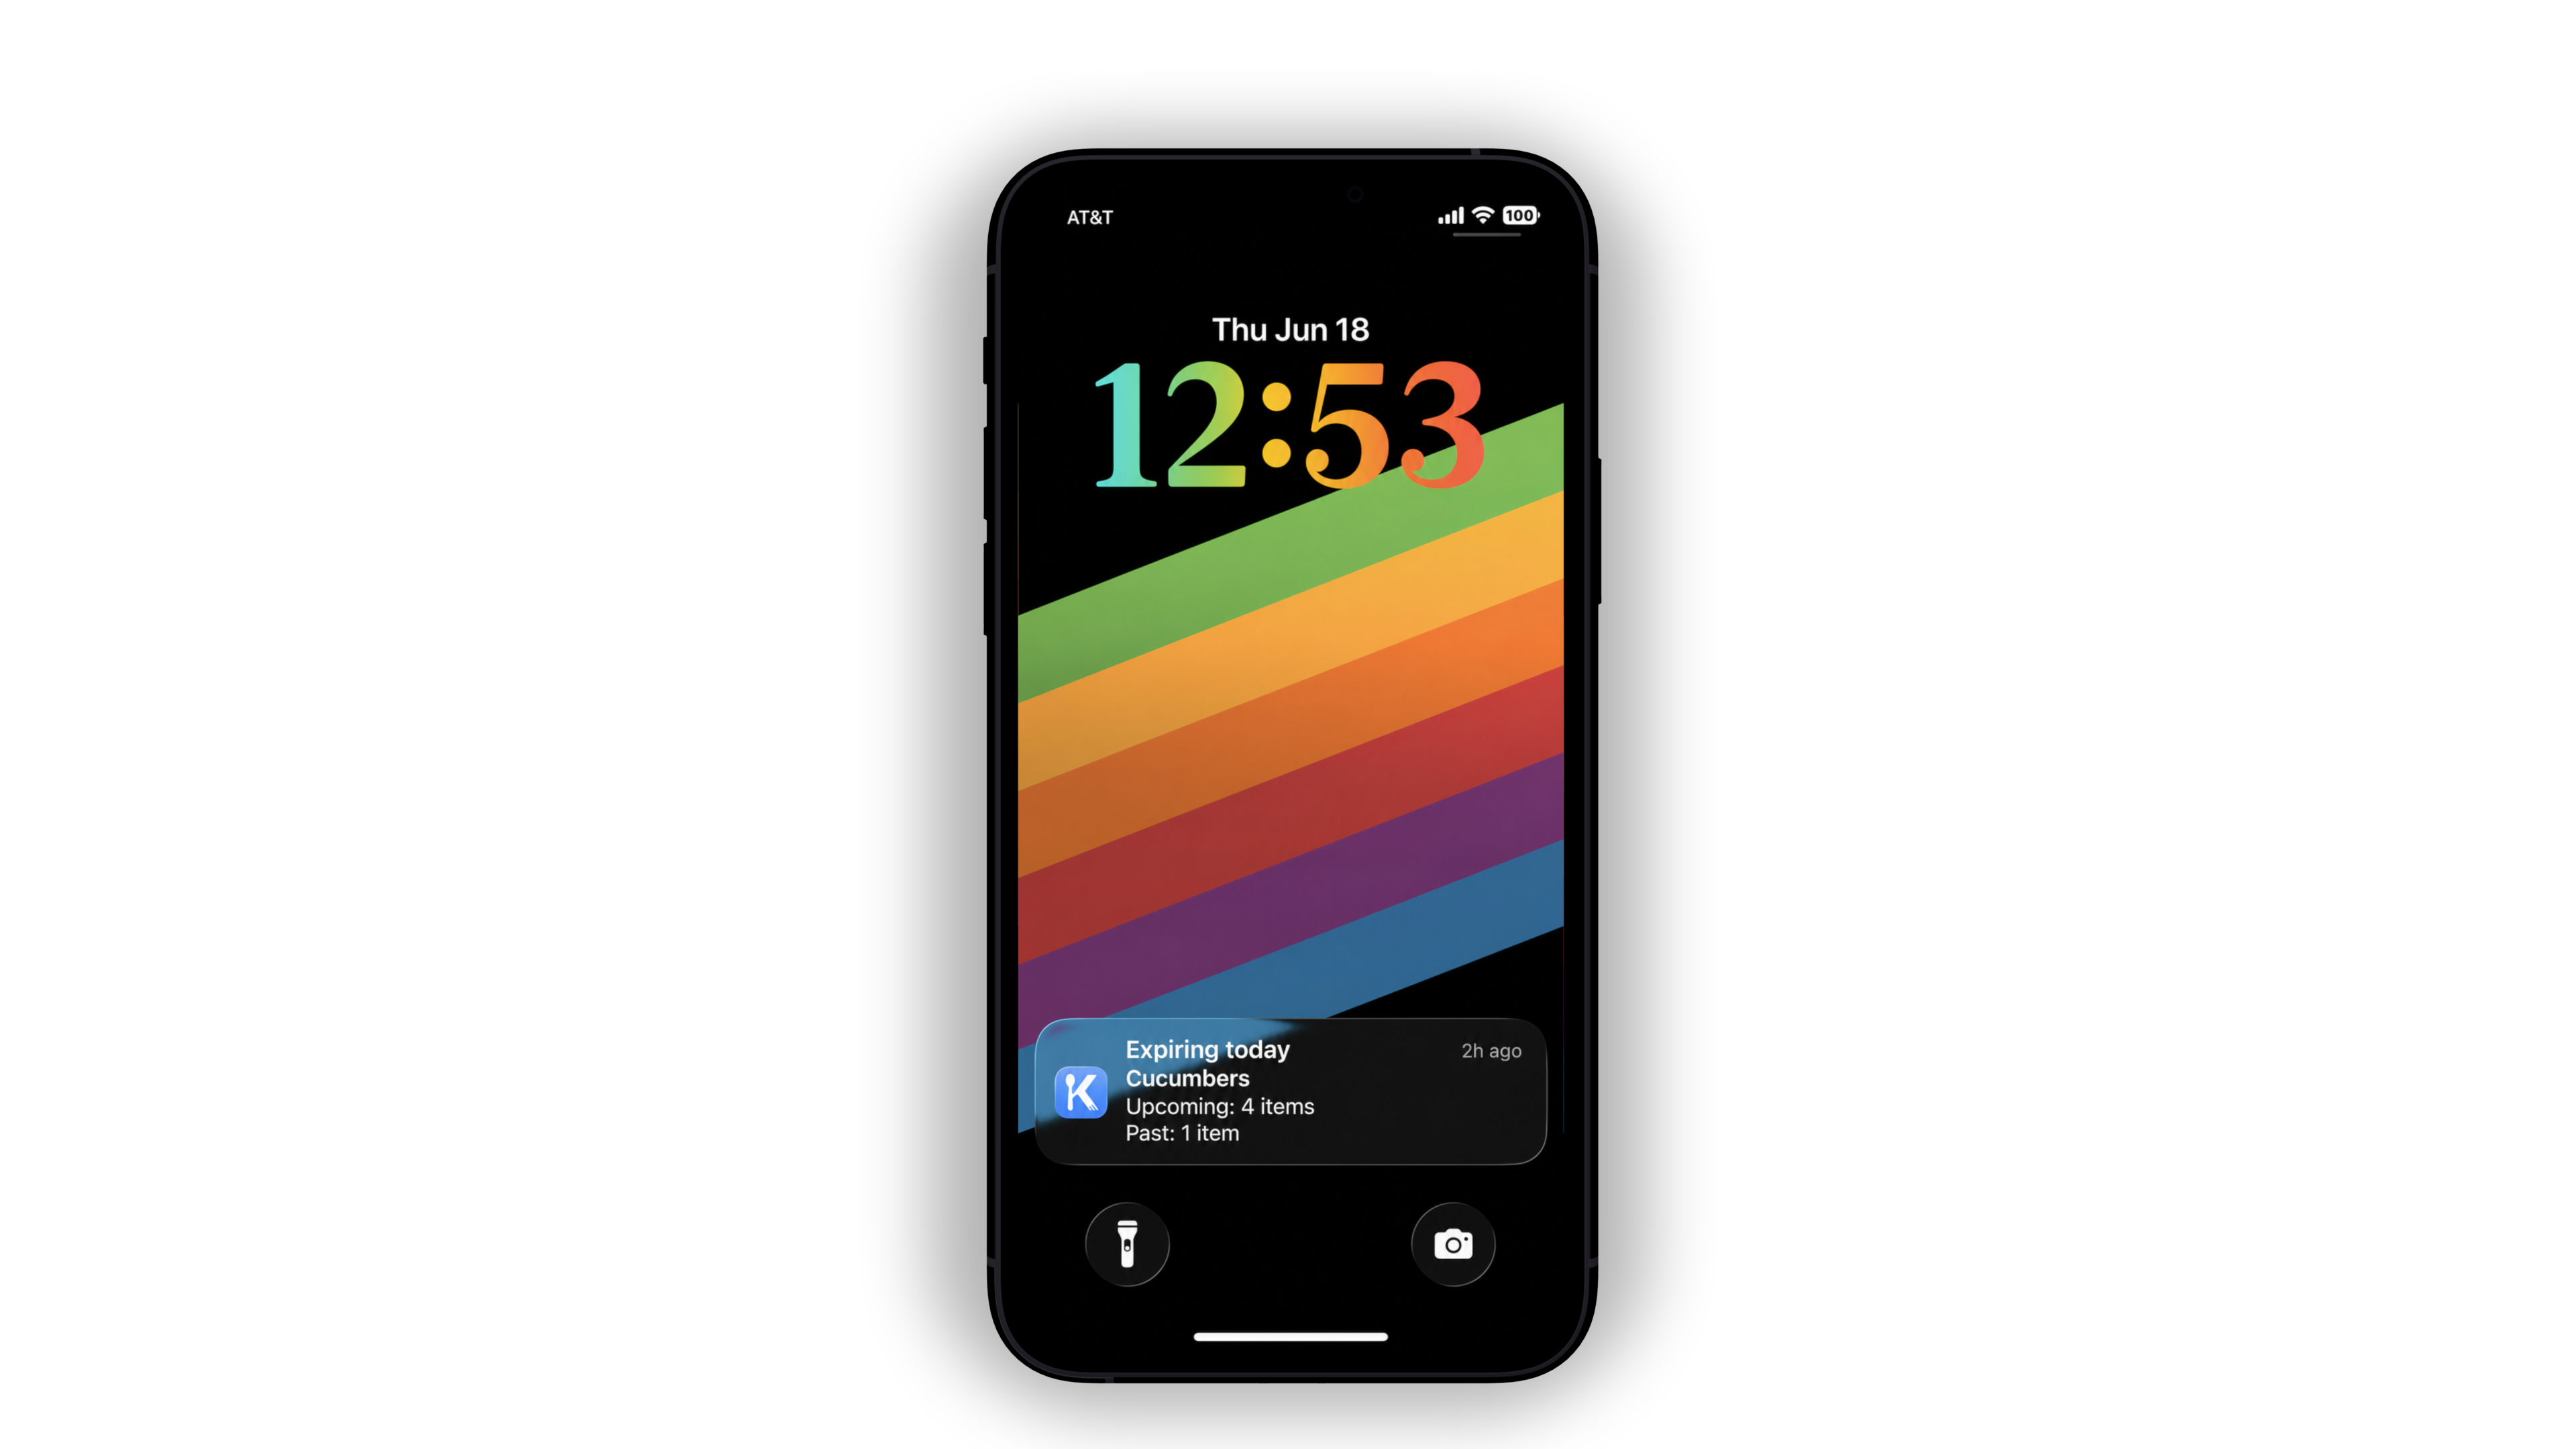
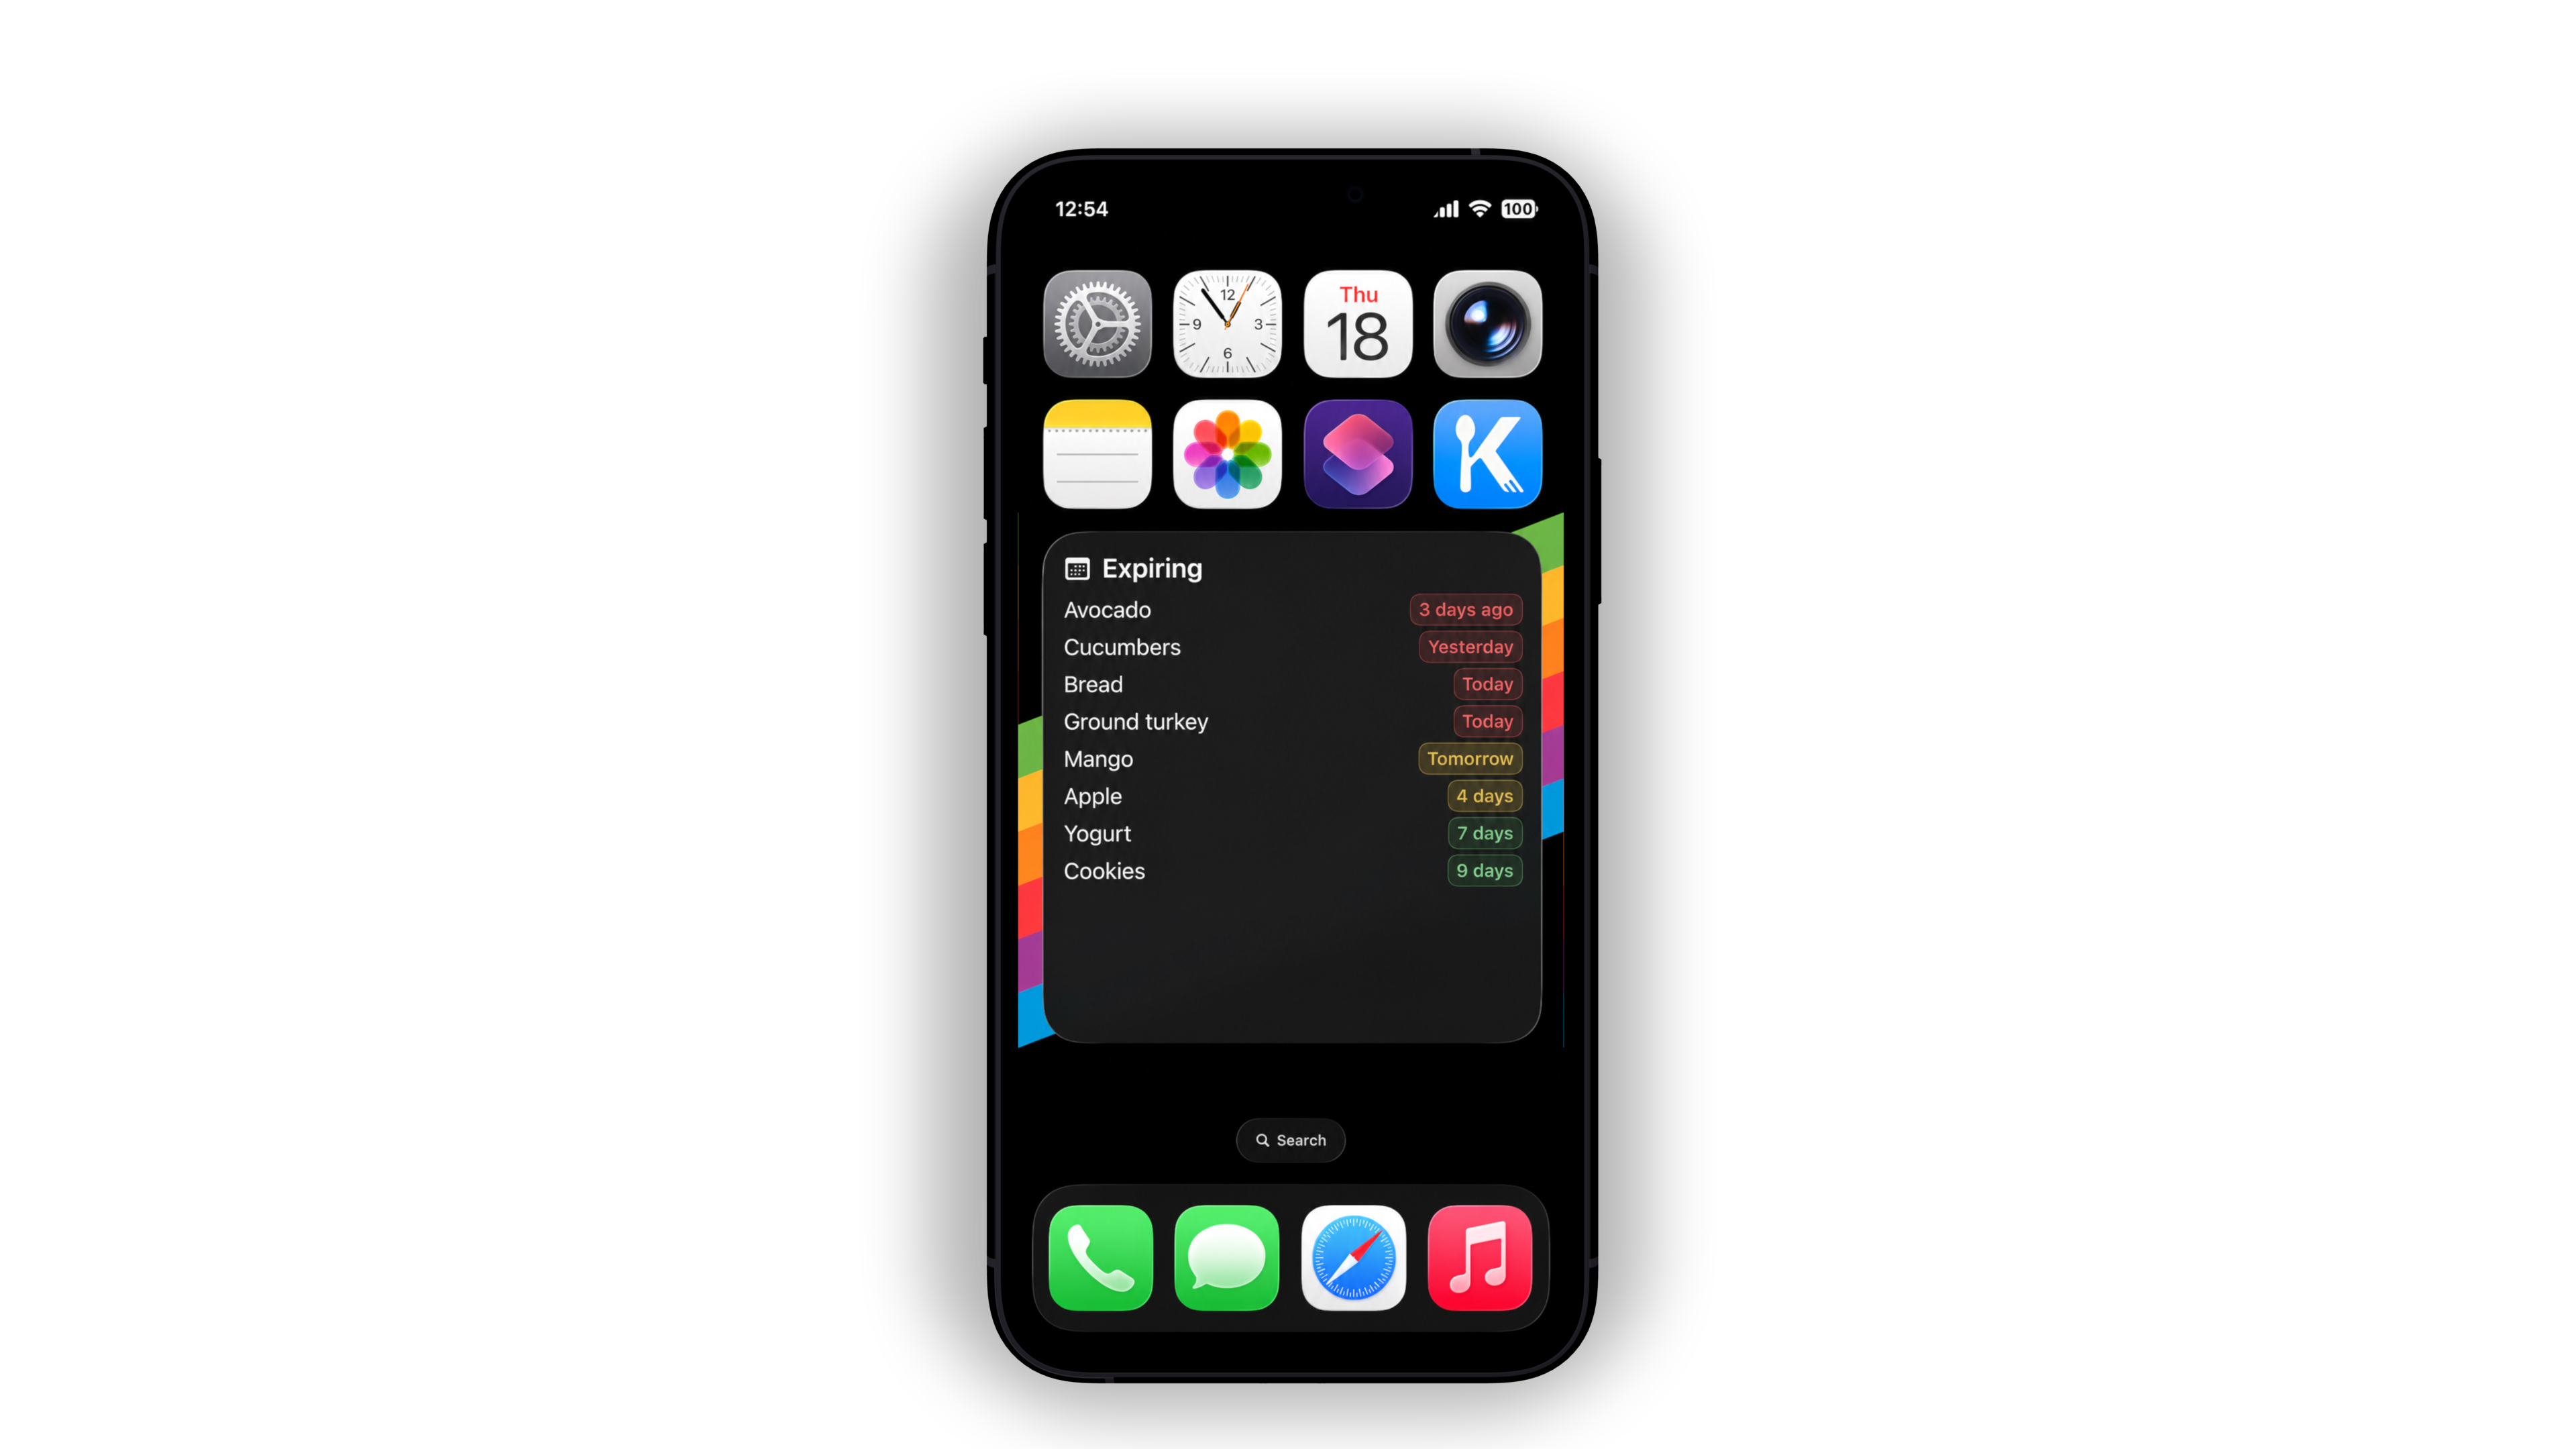
If you want to do other things with your grocery data, Apple Shortcuts integration makes that possible. You could print a list of meal ideas, show them on an E-ink display, or automatically send shopping lists to family. It's a little nerdy, but it is available to anyone with the app.
Although KitchenKit is Apple-only for now, these same ideas apply to Android. Some Android alternatives to Shortcuts exist, like Tasker or MacroDroid.
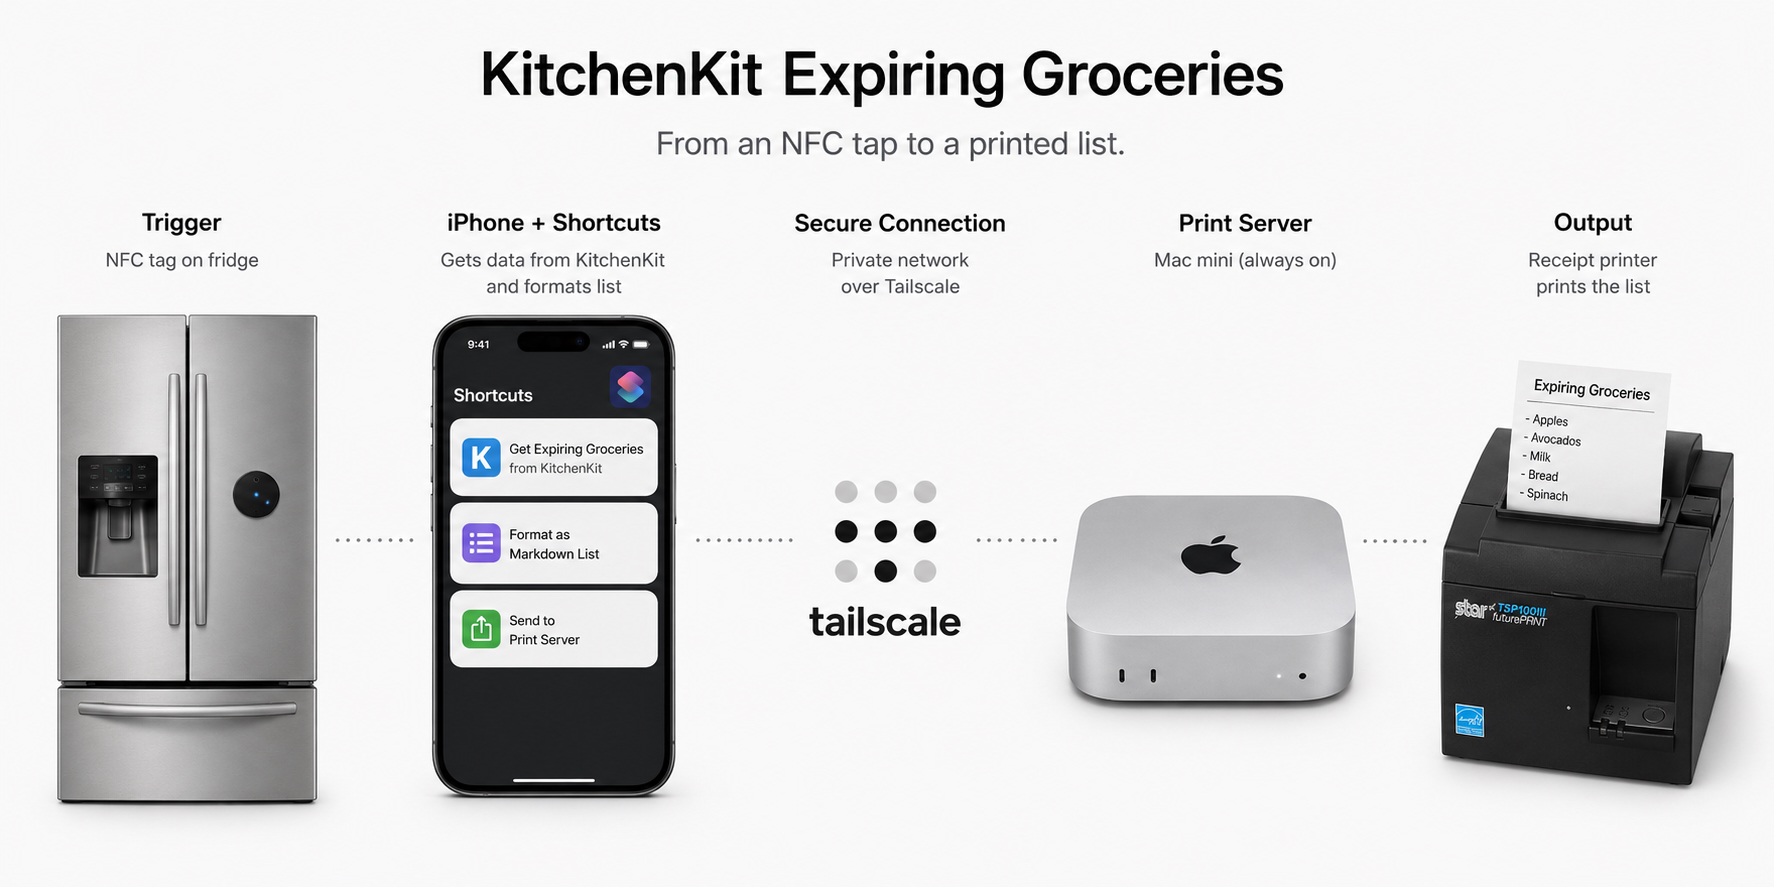
For the receipt printing version, the most important technical idea is that the phone does not need to know anything about printer protocols. The phone starts the workflow and sends along plain text. In my case, a computer that is already good at printing handles the printer-specific work. But we'll come back to that.
Triggering it with an NFC tag
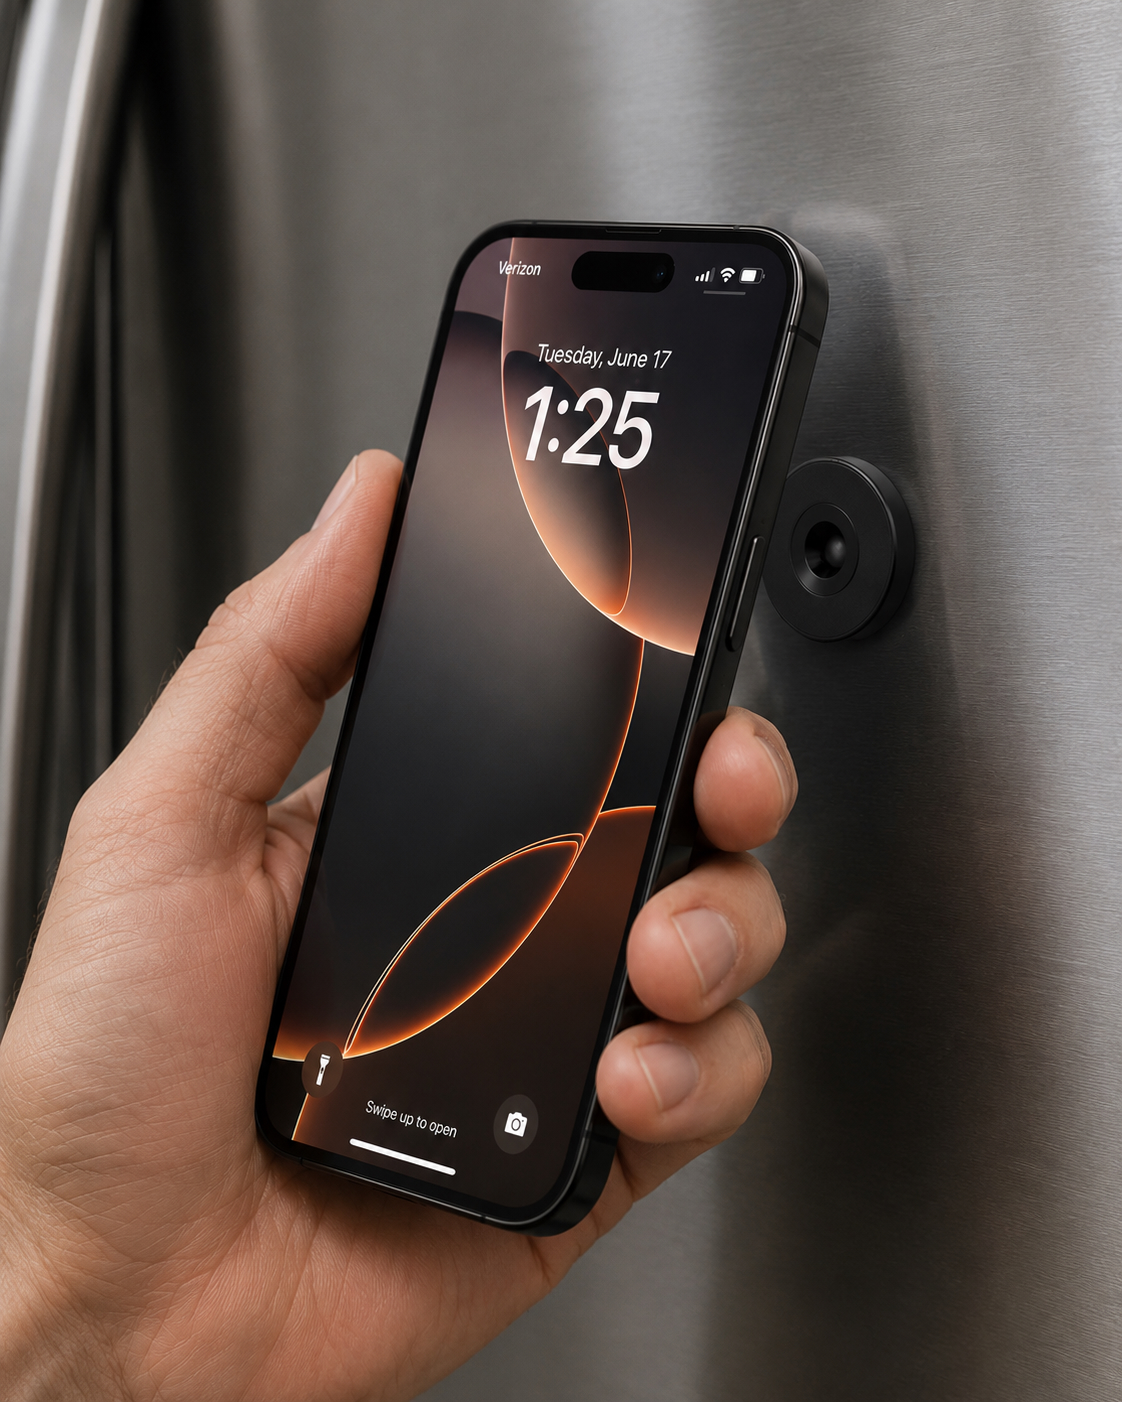
NFC tags are cheap little chips that can be read by your phone at very short range. On iPhone, Apple Shortcuts can use NFC scanning as an automation trigger. In this case, tapping the tag on the fridge starts a Shortcut that asks KitchenKit for expiring groceries.
A helpful note: thin sticker NFC tags may not work well when stuck directly to a stainless steel fridge, because the metal interferes with the tag. I used a thicker, encased tag with shielding that works on metal. Expect a little trial and error here.
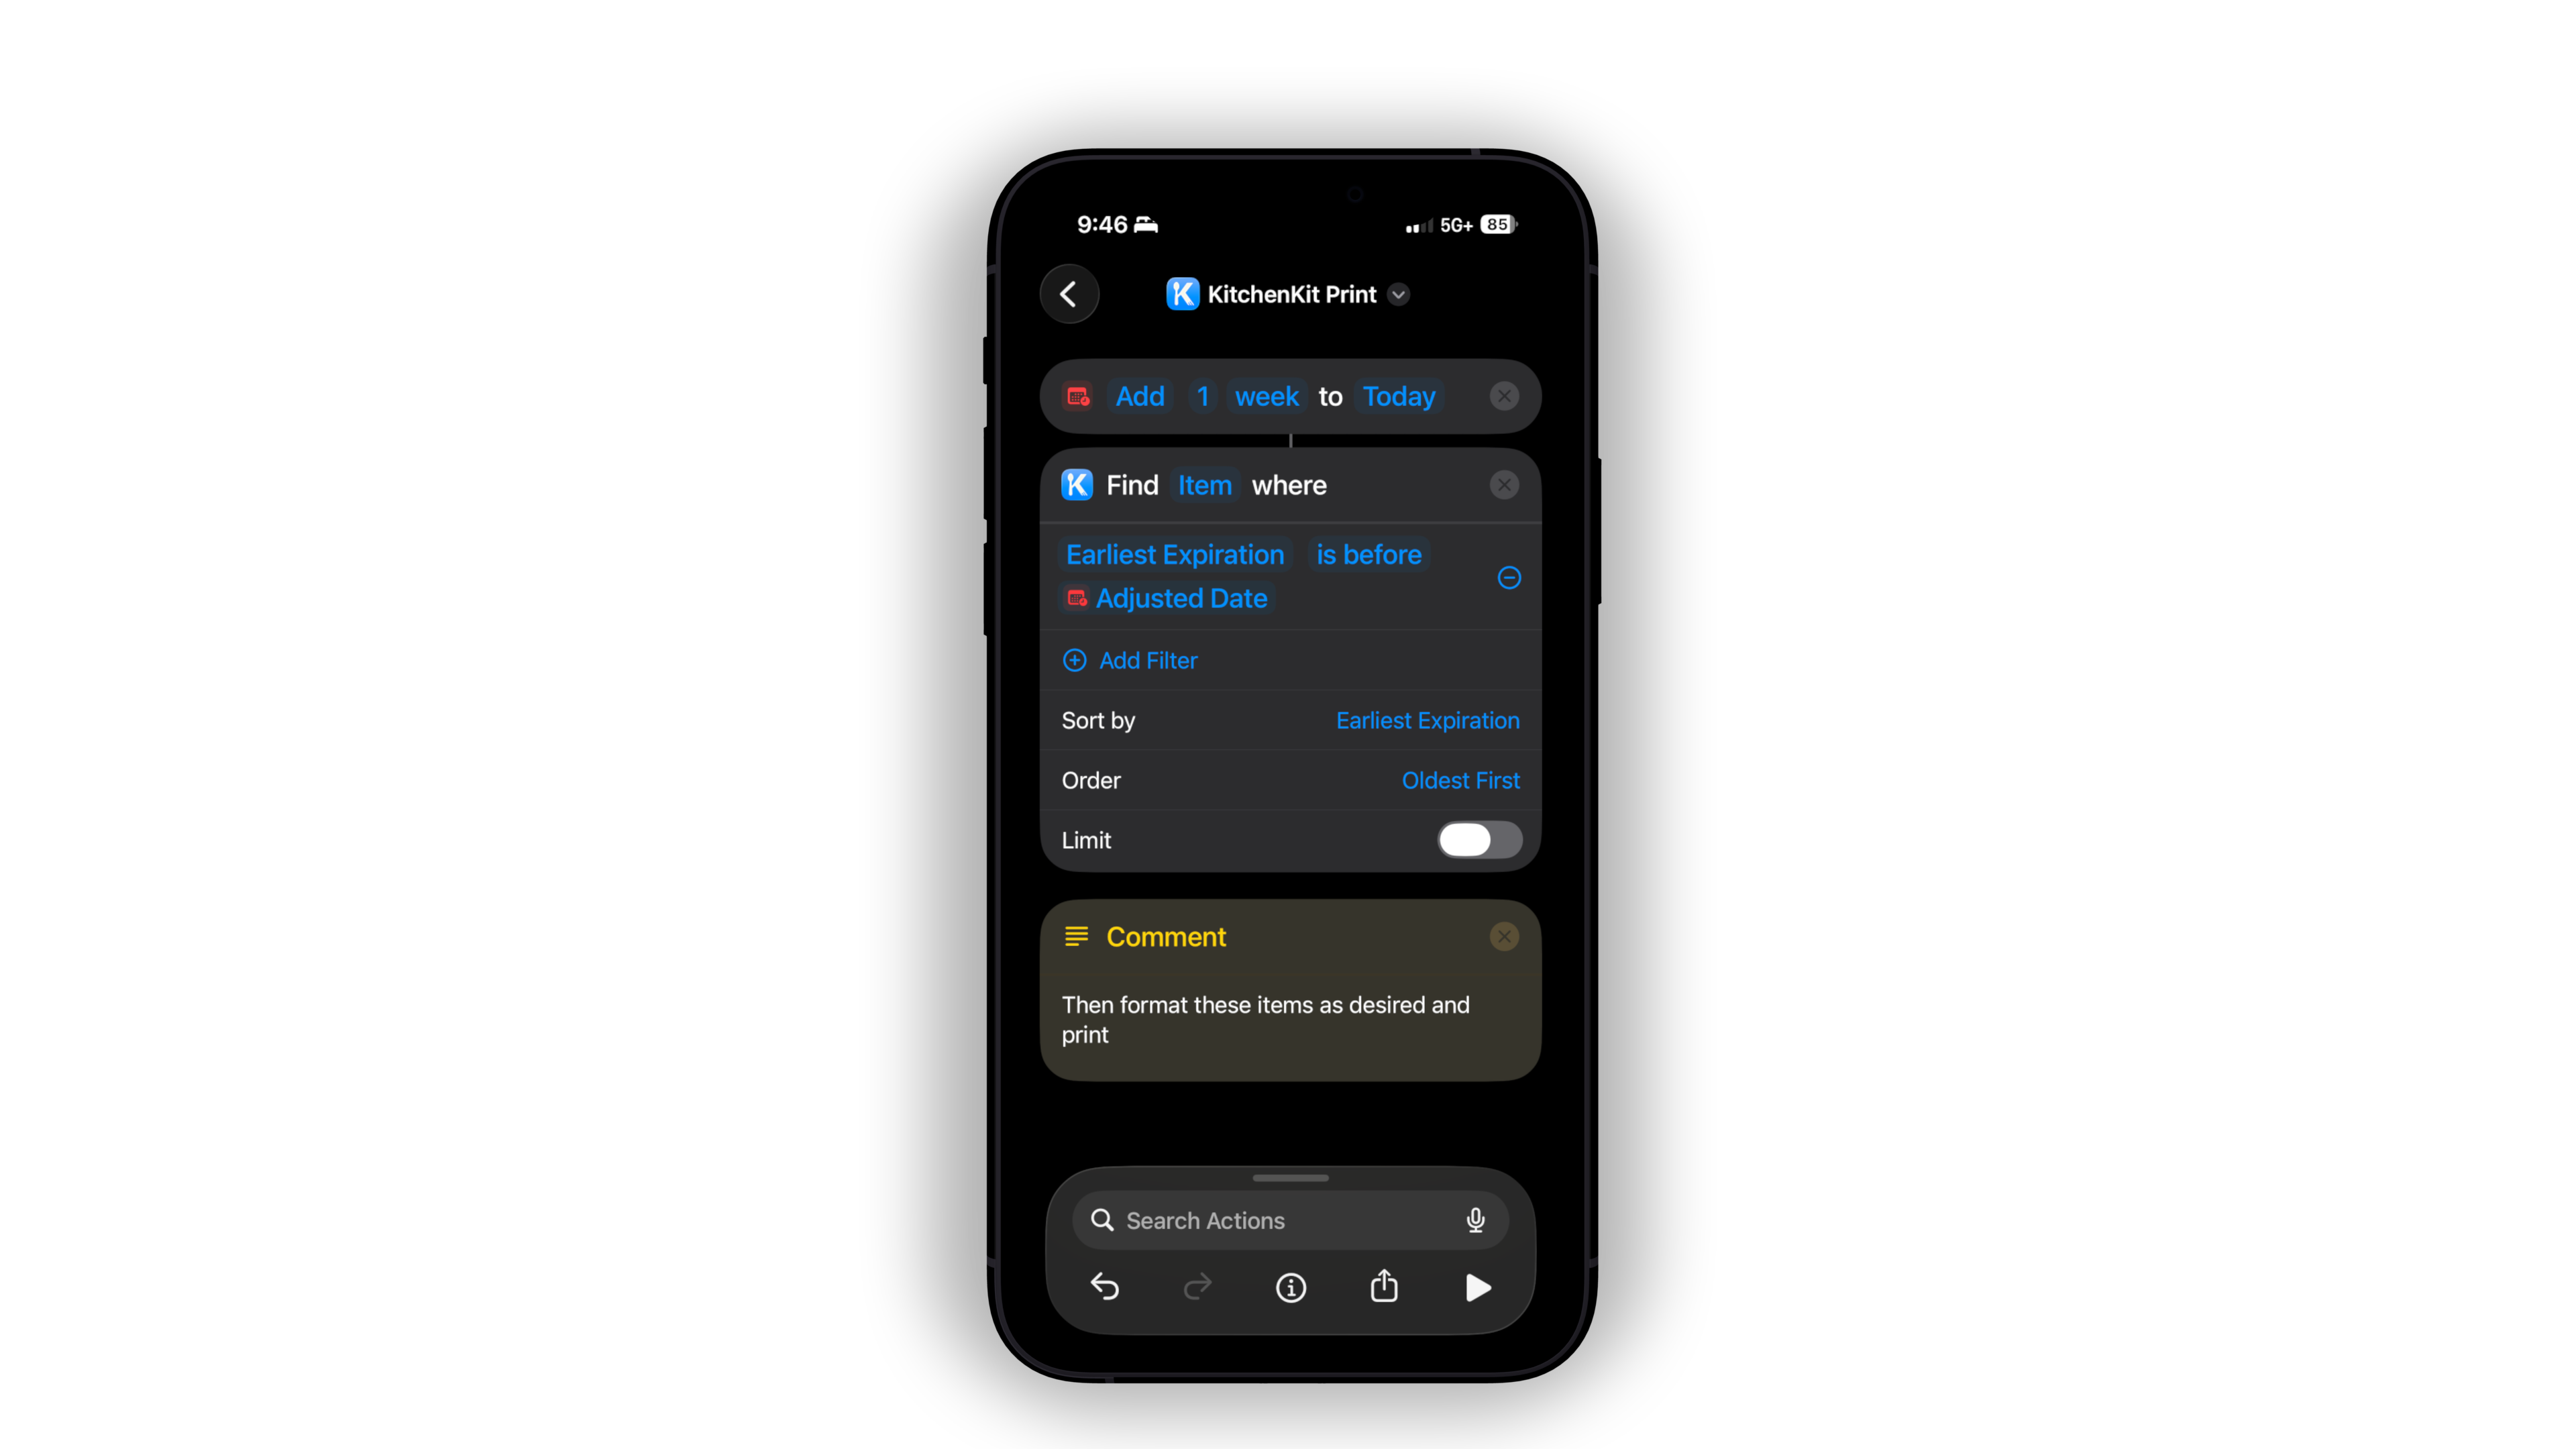
The Shortcut itself
The Shortcut collects groceries expiring soon from KitchenKit, formats the result, then either prints directly or posts the text to your print server. I like Markdown as the handoff format because it is readable when debugging, easy for Shortcuts to produce, and easy for a server to convert into a receipt-friendly layout.
# Expiring Groceries
Printed: Tuesday, June 17

- Apples - today
- Avocados - tomorrow
- Milk - in 3 days
- Bread - in 5 days
- Spinach - in 6 days
Choosing a printer
One option is using a printer your iPhone can already print to. If you have a true AirPrint printer, Shortcuts can handle the print job itself. Alternatively, cheap Bluetooth thermal printers exist, which are easy for manual printing through a companion app. But then they're not a great fit for a hands-off automation.
For a receipt printer that works from anywhere, I think the more reliable setup is to use a printer that's connected to a computer you keep running. Then the iPhone asks the computer to do the printing. I used a Wi-Fi Star Micronics TSP100IIIW, but there's nothing particularly special about it. A USB printer is also fine if it sits near the computer.
When you need a print server
This starts to get more technical. Once you involve a computer, the flow relies on a small custom local web service. After the phone sends Markdown to this server, it turns the Markdown into a receipt-sized print job. The computer's operating system owns the printer connection.
Any desktop computer or Raspberry Pi can play this role. The main requirement is boring reliability: it should stay awake.
My always-on computer is a Mac mini. It runs a tiny FastAPI command server as a macOS LaunchAgent, bound to 127.0.0.1:8787—it is not directly reachable from the local network (more on that in a moment). The Shortcut uses its "Get contents of URL" action to call the /run endpoint:
POST https://[host]/run
Content-Type: application/json

{
  "action": "print_markdown",
  "args": {
    "text": "# Expiring Soon\n\n- Milk\n- Greens"
  }
}
My own server code is too clunky and in-flux to open-source at this point. But some hints about my logic if you want to get started yourself: the Markdown text is a required parameter and capped at 5,000 characters (so the whole receipt paper roll doesn't get used up if too much content is accidentally sent). It adds a trailing divider (a horizontal line) because my receipt printer doesn't like to print trailing whitespace, resulting in a nonexistent bottom margin. The custom Markdown parser supports a receipt-friendly subset of the syntax: headings, paragraphs, bullets, numbered lists, quotes, code blocks, horizontal rules, and simple inline emphasis. It rasterizes (converts) the receipt to a grayscale PNG image with Pillow, then prints the image through CUPS using the lp command.
Printing a rendered image is not necessarily the best use of a receipt printer—it usually comes out a bit blurry. A better solution for clean, crisp printed text is to send raw text to the printer with ESC/POS commands, letting it handle all the formatting. It's a tradeoff between print quality and flexibility (and I just haven't gotten around to trying it myself yet).
CUPS owns the printer-specific setup. My printer is a Star TSP100-family receipt printer with a LAN queue named like _192_168_x_x, using the "Star TSP100 Cutter" model over an lpd://[printer-lan-ip]/ device URI. The print script passes options such as variable page size, partial cut, top-left positioning, no scaling, high density, and slow print speed. Depending on the printer, you may need to find and install the right CUPS driver before the queue behaves correctly. I would also reserve the printer's IP address in your router or DHCP server; if the printer gets a new LAN address later, the queue name and device URI can stop matching the real printer.
Getting the request from phone to server
I use Tailscale Serve for this. It lets the Mac mini expose the local print service at a private HTTPS URL inside my Tailscale network, so the phone can call something like:
https://mac-mini.example-tailnet.ts.net/run
Tailscale terminates HTTPS on the tailnet hostname and proxies the request back to http://127.0.0.1:8787 on the Mac. Tailscale avoids router port forwarding and keeps the endpoint off the public internet.
How to start
Begin with simplicity: use Shortcuts to show the KitchenKit grocery details you care about. Set up the printer on a computer and get a program to print verbatim hardcoded text. Introduce the server API, text formatting, set up your secure phone-to-server connection, and then you'll be printing up a storm!